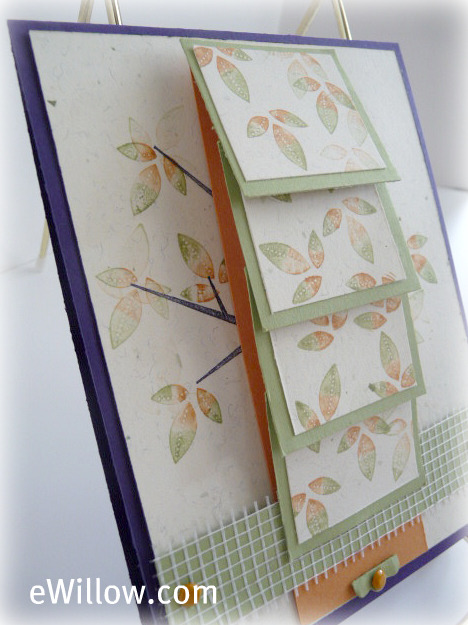
1) For the card: Cut a 4-1/4″ x 11″ piece of cardstock and score it down the middle at 5-1/2″ (purple)
2) For the tree: Cut a piece of cardstock 4″ x 5-1/4″ (ivory) and stamp the tree (purple)
For the leaves on the tree: To achieve the multi-colored
leaves, use a marker to color in one half of each leaf, and a different
color marker to color in the other half of each leaf. Randomly stamp
the leaves onto the tree branches.
3) For the falling leaves: Cut 4 pieces of cardstock 1-1/2″ x
1-1/4″ (ivory) and cut 4 pieces of cardstock 1-3/4″ x 1-1/2″ (green)
Repeat the process of coloring in the leaves with different colors of
markers as described in step two above. Stamp several leaves onto the
four small pieces of ivory cardstock. Layer the ivory cardstock onto
the green cardstock.
4) For the pull tab: For the pull tab, cut one piece of cardstock 1-5/8″ x 9″ and score this piece at 1″, 2″, 3″, and 4″ (orange)

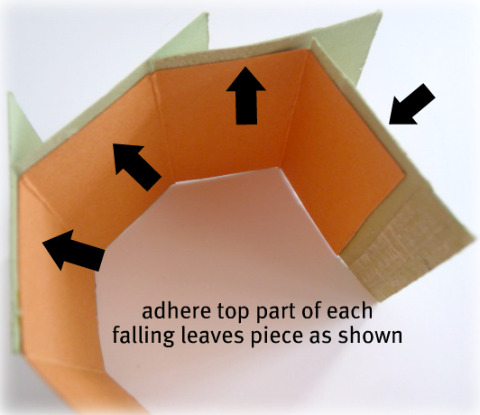
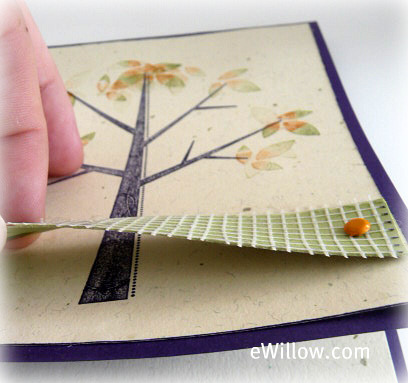
5) For the fence: Cut one piece of cardstock 3/4″ x 4″ and
cover it with a piece of drywall tape (green) Attach with a brad on
each side, but do not put any adhesive on it, like this:
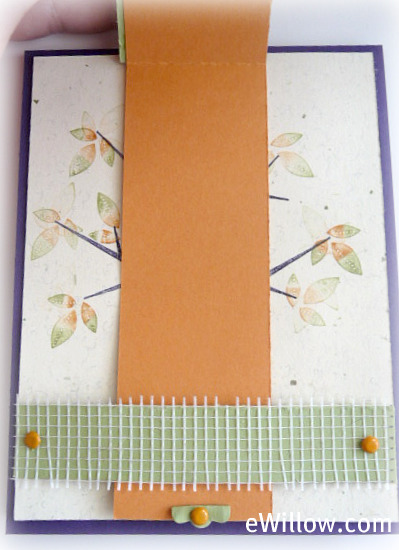
6) To attach the pull tab to the card: First, add a cute
little embellishment to the un-scored end. Next, all you have to do is
slide the pull tab underneath the fence. DO NOT put any adhesive on the
pull tab.
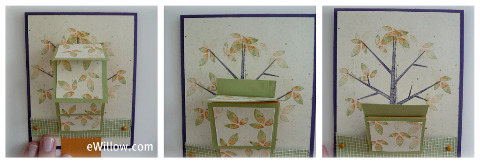
Finally, adhere the first falling leaves piece to the top part of the fence, as shown below.
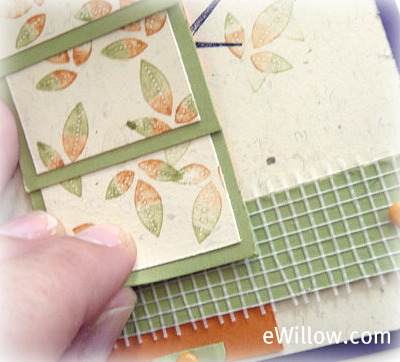
Whew! You’re done! Remember, just gently pull on the tab and it
will look like the leaves are falling off the tree. Did you have fun?


