
It may seem a little early to
start preparing for your annual Christmas cookie exchange, but it’s
not. Get started now so you won’t be too stressed. The day will be
here before you know it.
Although I use candy, you can
easily fill the bags with cookies. However, I’ve never met a
cookie-lover who isn’t also a chocolate-lover, so why not use candy
instead? If you use candy, you can complete the entire project now, thus eliminating all of the last-minute stress.
If you are set on using
cookies, just cut all of the paper and ribbon so when your party rolls
around, all you’ll need to do is add the cookies and tie the ribbon.
No matter what you decided to share, these bags will definitely make you the hit of the party!
SUPPLIES:
Decorative paper
Paper cutter with scoring blade
Various punches and ribbons
Cello bags
Candy or cookies
Crop-a-Dial
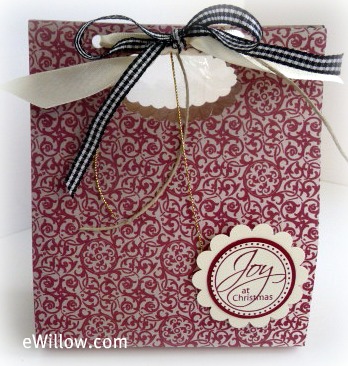
TO MAKE THE BAG:
1) Depending on what width
cello bags you use, you will need to cut the paper 1/2″ wider than the
width of the cello bags. The length is 12″ (no matter what width cello
bags you use.) For example, the cello bags I used are 4″ wide, so I cut
my decorative paper 4-1/2″ x 12″
2) Score the 12″ side at 5″ and 7″
3) Fold the decorative paper along the score lines and punch a decorative hole at the top
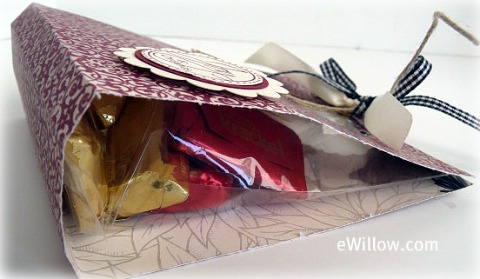
4) Fill the cello bag with candy or cookies
5) Fold up the decorative paper around the cello bag
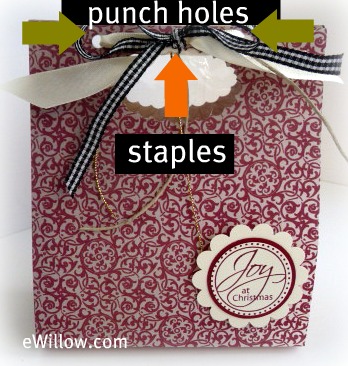
6) Indiscreetly staple the
top of the cello bag to the decorative paper (you’ll be covering the
staples with ribbon, but the staples help to ensure stability)
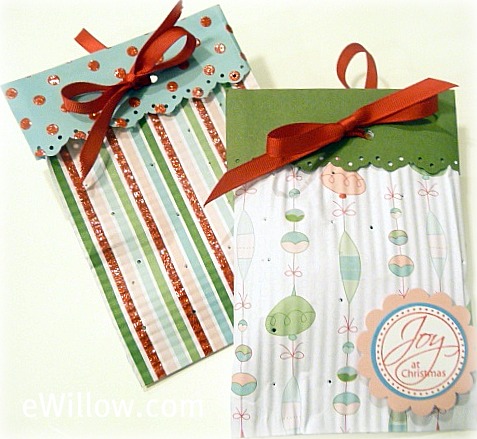
7) Punch a hole on either side of the staples
8) Adorn with various ribbons
9) Finish off with a cute tag